DIY Tea Tree Soap: A Clean, Green Melt-and-Pour Project
Making your own soap sounds complicated until you discover the melt-and-pour method. No lye handling. No curing time. Just a good base, quality botanicals, and about an hour of focused kitchen time. This guide walks you through a complete DIY tea tree soap from start to finish, including ingredient ratios, step-by-step instructions, safety notes, and several variations to keep things interesting.
If you already use tea tree oil across your home and daily routines, adding a handcrafted bar to the mix is a natural next step. The scent is clean and green, the process is genuinely beginner-friendly, and the results make thoughtful gifts too.

Before You Begin: What Makes This Recipe Work
The foundation of any good melt-and-pour tea tree soap is a quality soap base. Unlike cold-process soap, melt-and-pour bases are fully saponified and ready to use. You simply melt them, add your extras, and pour. The base does the heavy lifting.
For a tea tree recipe, a clear glycerin base or a shea butter base works particularly well. Clear glycerin shows off any botanicals you add and lets the natural pale yellow of the oil come through slightly. Shea butter base produces a creamy, opaque bar with a softer lather feel. Both are widely available from soap-making suppliers and online retailers.
The tea tree oil itself matters enormously here. Look for 100% pure Melaleuca alternifolia oil with a terpinen-4-ol content above 35% and a cineole content below 15%. Those numbers indicate genuine quality. A low-grade or adulterated oil will smell flat, medicinal, or slightly sour rather than the clean, crisp green note that defines true tea tree. Sourcing from a reputable supplier with third-party GC/MS testing is worth the extra attention.
Recipe Details
- Difficulty: Beginner-friendly
- Active prep time: 20 to 30 minutes
- Setting time: 1 to 2 hours (or 30 minutes in the freezer)
- Yield: Approximately 4 standard bars (3 to 4 oz each)
Ingredients
| Ingredient | Amount | Notes |
|---|---|---|
| Melt-and-pour soap base (clear glycerin or shea butter) | 16 oz (454 g) | Cut into 1-inch cubes for even melting |
| Pure tea tree essential oil (Melaleuca alternifolia) | 2 teaspoons (approx. 10 mL) | Gives roughly 1% concentration in finished soap |
| Fractionated coconut oil or jojoba oil | 1 tablespoon (15 mL) | Optional; adds a touch of skin-softening feel |
| Kaolin clay (white or green) | 1 teaspoon (optional) | Adds a light creamy texture and subtle color |
| Dried botanicals (rosemary, spirulina, or dried lemon peel) | 1 to 2 teaspoons (optional) | For visual interest only; surface or swirled in |
| Rubbing alcohol (91% isopropyl) in a small spray bottle | A few spritzes | Removes surface bubbles; not an ingredient in the soap itself |
Equipment You Will Need
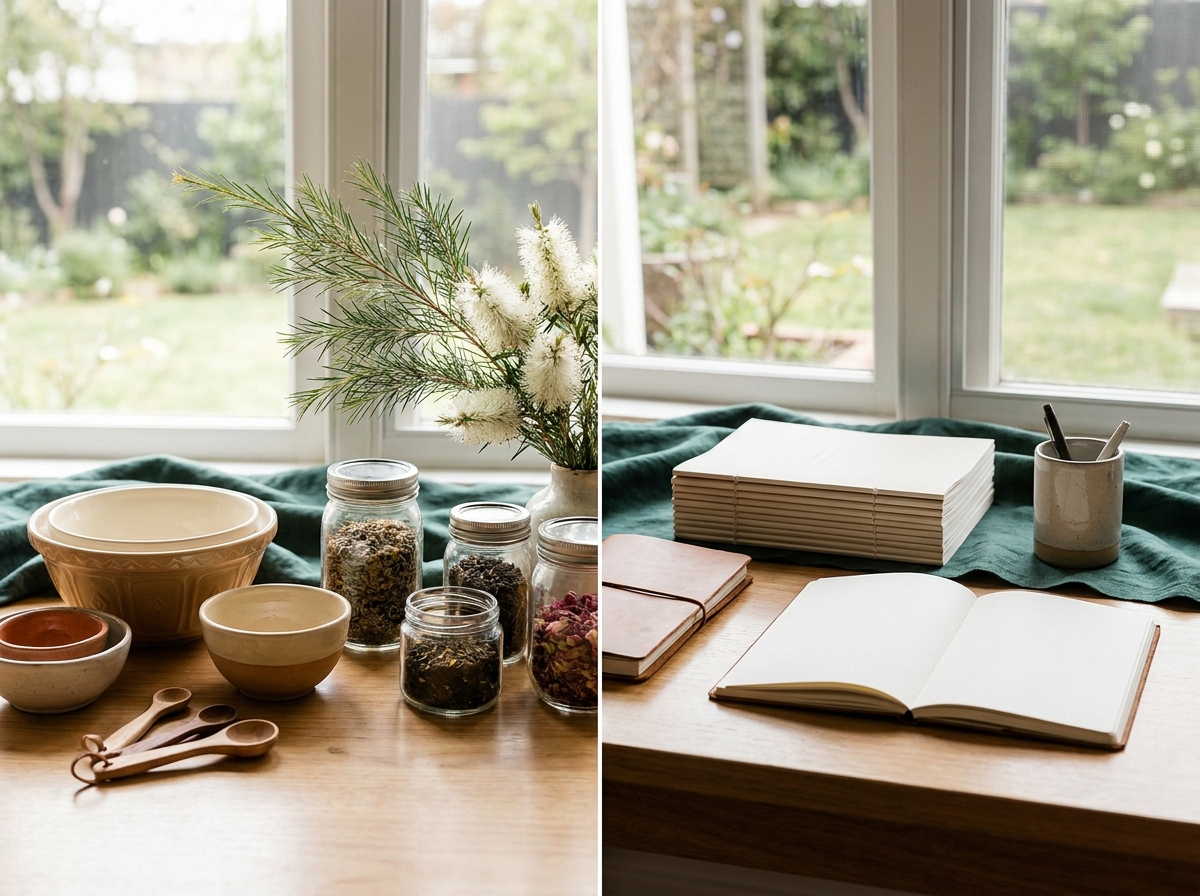
- Microwave-safe glass measuring cup or double boiler
- Silicone soap mold (loaf style or individual bar cavities)
- Rubber or silicone spatula
- Thermometer (a simple candy or instant-read thermometer works fine)
- Small spray bottle filled with 91% isopropyl alcohol
- Kitchen scale (recommended for accuracy)
Step-by-Step Instructions
Step 1: Prepare Your Workspace
Clear and clean your work surface. Set your mold on a flat, level area where it can remain undisturbed for at least two hours. Have everything measured and within reach before you start melting. Once the base is liquid, things move quickly.
Step 2: Cut and Melt the Soap Base
Cut your soap base into roughly 1-inch cubes and place them in your glass measuring cup. Microwave in 30-second bursts, stirring between each interval, until the base is fully liquid with no lumps. Alternatively, melt over a double boiler on low heat, stirring gently. Do not overheat. You are aiming for a temperature between 130°F and 140°F (54°C to 60°C). Overheated base can scorch, develop a skin, or lose its clarity.
Step 3: Add the Carrier Oil (Optional)
If you are including fractionated coconut oil or jojoba oil, stir it in now while the base is still fully liquid. Mix well. This is also the moment to stir in kaolin clay if you are using it. Whisk the clay with a small amount of the melted base in a separate cup first to prevent clumping, then pour that mixture back into the main batch.
Step 4: Cool Slightly, Then Add Tea Tree Oil
This step matters. Let the melted base cool to around 120°F (49°C) before adding your essential oil. At temperatures above 140°F, volatile aromatic compounds begin to dissipate. Adding your oil too early means losing much of the scent before the soap even sets. Stir the tea tree oil in slowly and thoroughly with your spatula, making sure it distributes evenly through the base.
Step 5: Pour Into the Mold
Pour the mixture carefully into your silicone mold. Pour from a low height to minimize bubbles. Immediately after pouring, spritz the surface lightly with 91% isopropyl alcohol. This pops any surface bubbles and gives you a smooth, professional-looking top. If you are adding dried botanicals, scatter them on the surface now and press them in very gently.
Step 6: Allow to Set
Leave the mold at room temperature for one to two hours, or place it in the freezer for 30 minutes to speed things up. The soap is ready to unmold when it feels firm and slightly cool to the touch. Do not rush this stage. Partially set soap will tear or dent when you try to remove it.
Step 7: Unmold and Cut
If using a loaf mold, gently flex the sides to release the soap, then push it out from the bottom. Use a sharp knife or soap cutter to divide it into individual bars. Individual cavity molds pop out easily from the back. Let your finished bars sit on a clean rack or parchment paper for an additional 24 hours before wrapping. This allows any residual moisture from the base to stabilize.
Safety Warnings and Dilution Notes
Essential oils are potent aromatic compounds. Using them responsibly in leave-on or rinse-off products requires attention to concentration. Here are the key safety points for this recipe:
- Concentration in rinse-off products: This recipe targets approximately 1% tea tree oil in the finished soap. Because soap is rinsed off quickly, this is a reasonable starting point for most adults. Some formulators go as high as 2% in rinse-off formats. Do not exceed 2% without specific formulation guidance.
- Patch testing: Before using any new soap formula regularly, do a patch test. Apply a small lather to the inside of your wrist or elbow, rinse after 30 seconds, and wait 24 hours. If you notice redness, itching, or irritation, discontinue use.
- Keep away from eyes: Rinse thoroughly with water if any soap contacts your eyes.
- Not for use on young children: Tea tree oil is not recommended for use on children under 2 years of age. Consult a qualified healthcare provider before using essential oil products on children or during pregnancy.
- Oxidized oil concerns: Tea tree oil that has been improperly stored (exposed to air, heat, or light) oxidizes over time. Oxidized oil is more likely to cause skin sensitization. Store your bottle tightly sealed, in a cool dark place, and check the scent before use. Fresh tea tree smells crisp and green. Stale or oxidized oil smells sharp and slightly acrid.
- Allergy history: People with known sensitivities to plants in the Myrtaceae family should approach tea tree products with caution and speak with a healthcare provider first.
Note: This soap is a cosmetic rinse-off product intended for external use on the skin. It is not intended to diagnose, treat, cure, or prevent any condition. Consult a qualified healthcare provider with any personal health questions.
Storage Instructions and Shelf Life
Melt-and-pour soap already contains preservatives in the base, so shelf life is generally good when stored correctly.
- Unwrapped bars: Store in a cool, dry place away from direct sunlight. Exposed glycerin soap will absorb moisture from the air (a phenomenon called glycerin dew) and develop a slick, slightly wet surface. This does not affect performance, but it can look unpleasant and shorten bar life.
- Wrapped bars: Wrap finished bars in plastic wrap, shrink wrap, or wax paper to protect from humidity. Labeled and wrapped bars make excellent gifts.
- Shelf life: Most melt-and-pour bases have a suggested shelf life of 1 to 2 years when stored correctly. Once you add essential oils, aim to use the bars within 12 months for the best scent quality.
- In the shower: Use a well-draining soap dish. Sitting water dramatically shortens any bar soap's life, melt-and-pour or otherwise.
Variations and Substitutions
Variation 1: Tea Tree and Peppermint Refresh Bar
Replace half the tea tree oil (1 teaspoon) with pure peppermint essential oil. The result is a bright, invigorating scent that pairs especially well with a clear glycerin base. Keep total essential oil at 2 teaspoons (1% combined in the finished soap).
Variation 2: Tea Tree and Lavender Calm-Evening Bar
Substitute 1 teaspoon of the tea tree with lavender essential oil (Lavandula angustifolia). This blend is popular for a bedtime wind-down shower or bath routine. Use an opaque shea butter base for a creamier feel.
Variation 3: Exfoliating Coffee Bar
Stir 2 tablespoons of finely ground coffee into the melted base just before pouring. The texture adds gentle physical exfoliation. Keep the tea tree at 2 teaspoons and pour into individual bar molds so the grounds distribute evenly.
Variation 4: Charcoal Detox Bar
Add 1 teaspoon of activated charcoal powder to give the bar a dramatic dark gray color. Whisk it into a small amount of melted base first to prevent streaks. This variation pairs beautifully with the naturally sharp, clean scent of tea tree oil.
Substitutions
- No kaolin clay? Arrowroot powder works as a mild alternative for texture.
- No fractionated coconut oil? Sweet almond oil or avocado oil can substitute at the same ratio.
- Vegan base: Most clear glycerin bases are plant-derived, but check with your supplier. Some shea butter bases use animal-derived ingredients. Look for labels that specify vegan or plant-based.
Taking It Further
Once you are comfortable with this basic tea tree oil soap recipe, there are plenty of directions to explore. A liquid base and a foaming pump bottle open up an entirely different format. If that sounds appealing, the DIY tea tree face wash tutorial covers a lightweight gel cleanser approach, and the DIY tea tree body wash guide walks through a creamy shower formula from scratch.
Soap-making rewards patience and good sourcing. Start with this melt-and-pour format, get comfortable with the process, and let the quality of your ingredients do the rest. A well-made bar speaks for itself.